TPO Installation: Step by-Step Technical Process
The following sequence reflects a typical mechanically attached TPO install on a Old Town Carmel commercial building between 5,000 and 50,000 square feet. Adhered and ballasted systems vary at steps 4 through 6.
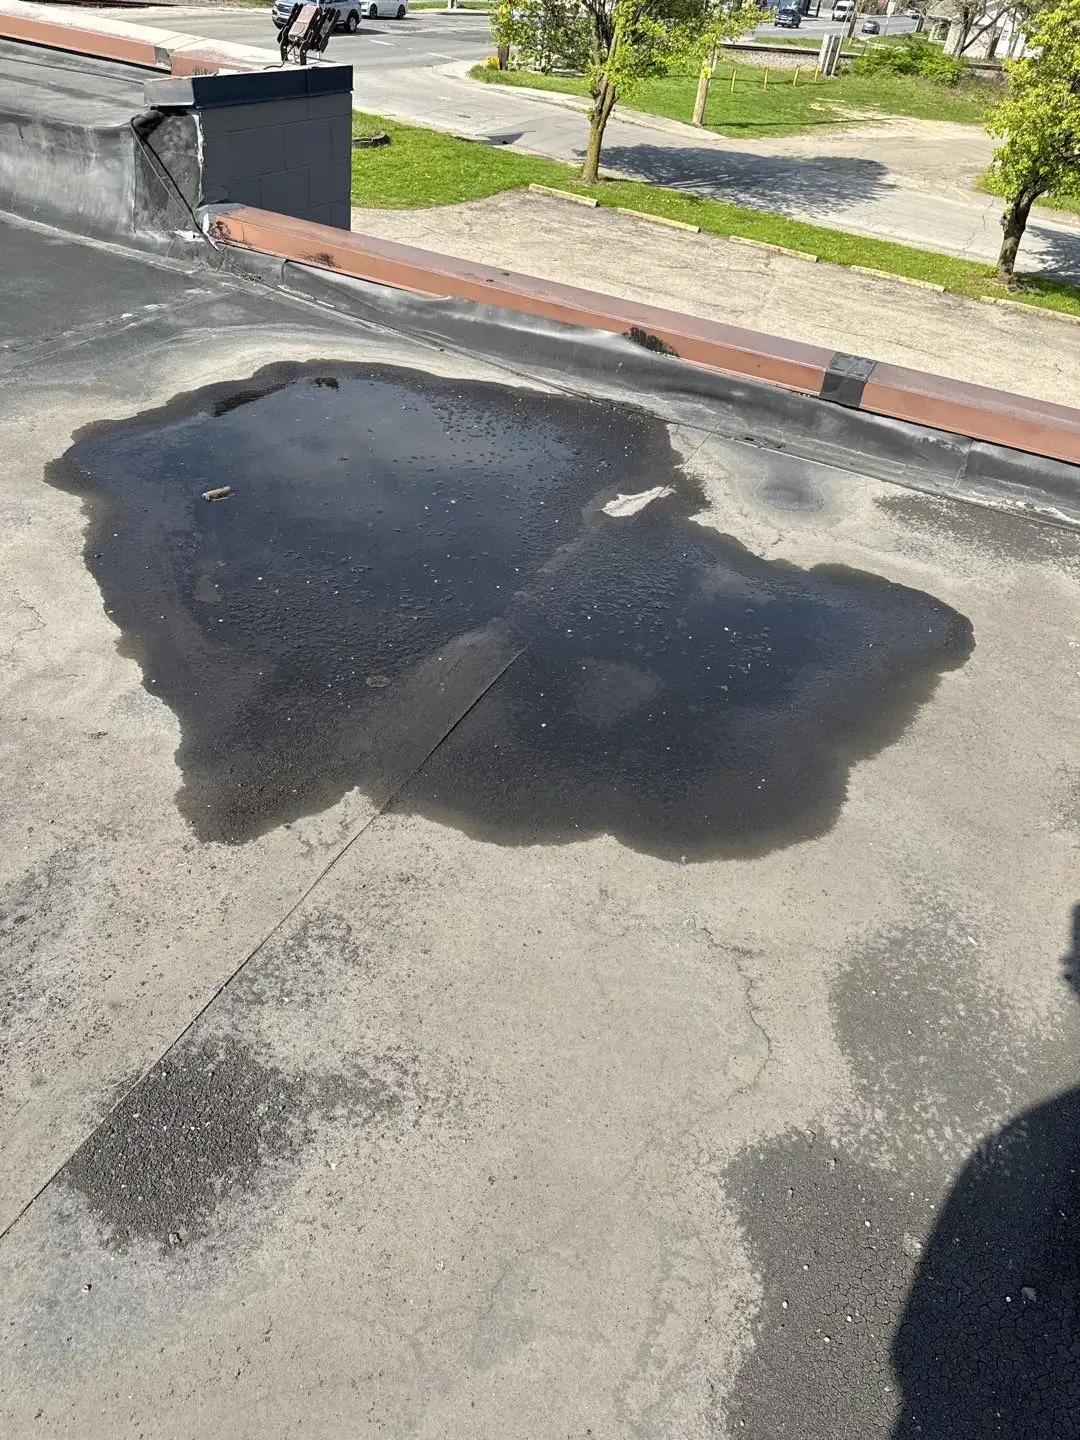
Step 1: Pre-Installation Inspection and Moisture Survey
- Visual deck inspection from interior side, documenting rust, rot, or deflection.
- Infrared or capacitance moisture scan of existing insulation if performing a recover.
- Core cuts every 10,000 sq ft to confirm deck type (typically steel B-deck, concrete, or wood).
- Verify perimeter and corner zones per ASCE 7 wind uplift calculations.
- Document HVAC curbs, drains, scuppers, and penetrations with measured drawings.
- Photograph each rooftop unit nameplate to confirm equipment weights for structural review.
- Sample existing membrane for thickness and chemical compatibility if a recover is under consideration.
For buildings with suspected leaks under existing membrane, we coordinate with our commercial roof inspections team before quoting replacement. Moisture surveys are typically performed at night when surface temperatures fall below 60 F, which sharpens infrared contrast between wet and dry insulation. Old Town Carmel Commercial Roofing documents all findings in a marked roof plan that becomes the basis for the scope of work.
Step 2: Tear-Off or Recover Decision
- Tear off required if: existing roof has 25%+ wet insulation, two roofs already in place, or deck repairs are needed.
- Recover allowed if: one existing roof, less than 25% wet insulation, deck is sound, and total system weight stays under structural capacity.
- Recover saves $1.50 to $3.00 per sq ft but adds a slip sheet or 1/2" cover board requirement.
- Tear off disposal cost in Old Town Carmel: $0.40 to $0.75 per sq ft based on landfill tipping fees and haul distance.
- Phased tear off required when interior operations cannot tolerate exposed deck overnight.
Step 3: Deck Preparation
- Sweep and vacuum deck to remove debris and ferrous metal.
- Replace rusted or deflected metal deck panels (typically 22-gauge minimum).
- Prime concrete decks at 1 gallon per 100 sq ft if using adhered systems.
- Install vapor retarder over concrete or in high humidity interior environments.
- Confirm deck fastener pull out values: 300 lb minimum for steel, 400 lb for structural concrete.
- Seal deck flutes at perimeter and penetrations to prevent air leakage into the assembly.
Step 4: Insulation Layout
- Standard polyiso: 2.5" minimum for R-25, 3.5" to 4" for R-30 (current Old Town Carmel code reference).
- Install in two staggered layers to break thermal bridges at board joints.
- Fasten first layer with #14 or #15 screws and 3" plates at 1 fastener per 4 sq ft in field, doubled in perimeter, tripled in corners.
- Second layer mechanically fastened or adhered with low rise foam at 12" on center beads.
- Top with 1/2" high density cover board (DensDeck or equivalent) for puncture resistance and warranty compliance.
- Tapered insulation crickets at curbs: 1/2" per foot slope minimum, extending 4 ft upstream of the obstruction.
- Saddle layout at valleys uses 1/4" per foot fall toward drains, verified with a string line before fastening.
Step 5: TPO Membrane Installation
- Membrane thickness: 45-mil (entry level), 60-mil (standard commercial), 80-mil (heavy duty or high traffic).
- Roll out sheets parallel to building length, allowing 30 minutes relaxation before fastening.
- Mechanically attached: fasten through membrane edge at 6" to 12" on center based on wind zone calculations.
- Fully adhered: apply bonding adhesive at 60 sq ft per gallon to both substrate and membrane, broom roll once tacky.
- Maintain 6" minimum overlap at all seams.
- Ambient temperature minimum for adhered systems: 40 F and rising, with no rain forecast for 8 hours.
- Sheet color selection: white reflects up to 78% of solar radiation, gray and tan reduce thermal shock on darker substrates.
Step 6: Hot-Air Welding Seams
- Robotic welder settings: 1,020 to 1,100 F at 10 feet per minute for 60-mil membrane.
- Hand welder for details, T-joints, and corners at 800 to 900 F.
- Seam width: 1.5" minimum, 2" preferred.
- Probe test every linear foot of seam after cooling. No skips, no voids.
- Re weld any failed sections with patch overlay extending 2" beyond defect.
- Daily test welds at start of shift and after any equipment adjustment, pulled to destruction and logged.
Step 7: Flashings and Penetrations
- Curb flashings: 8" minimum height above finished roof surface.
- Pipe boots: prefabricated TPO boots welded to field membrane, sealed with water cut off mastic.
- Drains: clamping ring with new strainer, membrane wrapped into drain bowl 2" minimum.
- Edge metal: continuous cleat with 4" TPO-coated metal, fastened 4" on center.
- Inside and outside corners: prefabricated patches preferred over field fabricated cuts.
- Walkway pads: required at 4 ft radius around all serviceable rooftop equipment.
Cost Breakdown by Component
Cost Drivers Beyond the Base Price
- Crane or boom lift rental for material staging: $1,500 to $4,500 per mobilization.
- Night or weekend work premium for occupied retail or medical buildings: 15% to 30% labor uplift.
- Roof access conditions: parapet height, ladder distance, and staging area availability shift labor hours per square.
- Warranty tier: 15 year NDL warranties cost 5% to 8% more than 10 year material only coverage.
- Energy code upgrades: jumping from R-25 to R-30 adds $0.60 to $1.10 per sq ft in polyiso.
Post-Installation Quality Verification
- Final seam probe walk by foreman and project manager, documented on a marked roof plan.
- Drain flow test: 5 gallons poured at each drain, timed to confirm flow under 60 seconds.
- Fastener pull tests on a sample of 10 fasteners per 10,000 sq ft, recorded in the closeout package.
- Manufacturer field inspection scheduled before warranty issuance, typically within two weeks of substantial completion.
- Owner walkthrough with Old Town Carmel Commercial Roofing project manager covering drain locations, walkway pads, and maintenance access points.
- Closeout binder delivered: warranty certificate, as built roof plan, fastener logs, and recommended inspection schedule (twice yearly plus after major storms).
Timeline Per 10,000 Square Feet
- Day 1: Mobilization, tear off start, debris containment setup.
- Day 2 to 3: Tear off complete, deck inspection and repairs.
- Day 4 to 5: Insulation and cover board installation.
- Day 6 to 7: Membrane layout and field welding.
- Day 8: Flashings, edge metal, drains.
- Day 9: Seam probing, punch list, warranty documentation.
Weather, deck condition, and crew size shift this window. For active leaks during the project, we prioritize tarping and dry in before continuing the planned sequence, similar to how we handle commercial emergency roof repair calls. If the existing roof is failing mid project, we may also discuss whether coating versus full replacement remains the right call based on what the tear off reveals.